To assemble them, I cut pieces of 2" x 22" double-sided PCB material I had left over from another project. I cut 10 thin gaps in the copper on one side with an X-acto knife, and make sure the cut is comlplete with a meter. I then solder the LEDs across the gaps, placing the LED such that two of the solder pads on the bottom are on one side of the gap. Use the meter to make sure none of the LEDs has shorted out the gap. If they short, it is pretty difficult to move the LEDs. If you have to, using a pair of soldering irons on both sides of the LED at the same time seems to be the trick. Also, make sure you put all the LEDs facing the same way. They have a VERY small mark on the top.
Once I have two good strings of LEDs, I put them in series by soldering four solid wires across between the two units. Two wires on the top, two wires on the bottom. And, I short the top to bottom at one end. The bottom side copper then returns the far end over to the other side. I then solder the power supply red and black wires to the end of the 44" long strip that is not shorted, being careful to connect the polarity correctly. Watch your eyes when testing the unit without a diffuser, the LEDs are insanely bright, and you'll be seeing spots for several minutes!
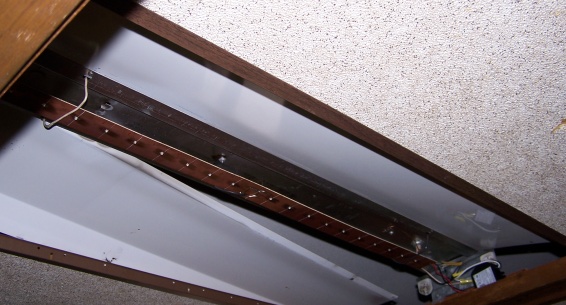
In the picture, the strip of LEDs is suspended by insulated solid wire hung from the old tube fixture. The power supply is the size of a hockey puck, and can be seen at the right edge, it has a square while label.
| |